Vertical Tool Cart
Includes the STEP CAD file.
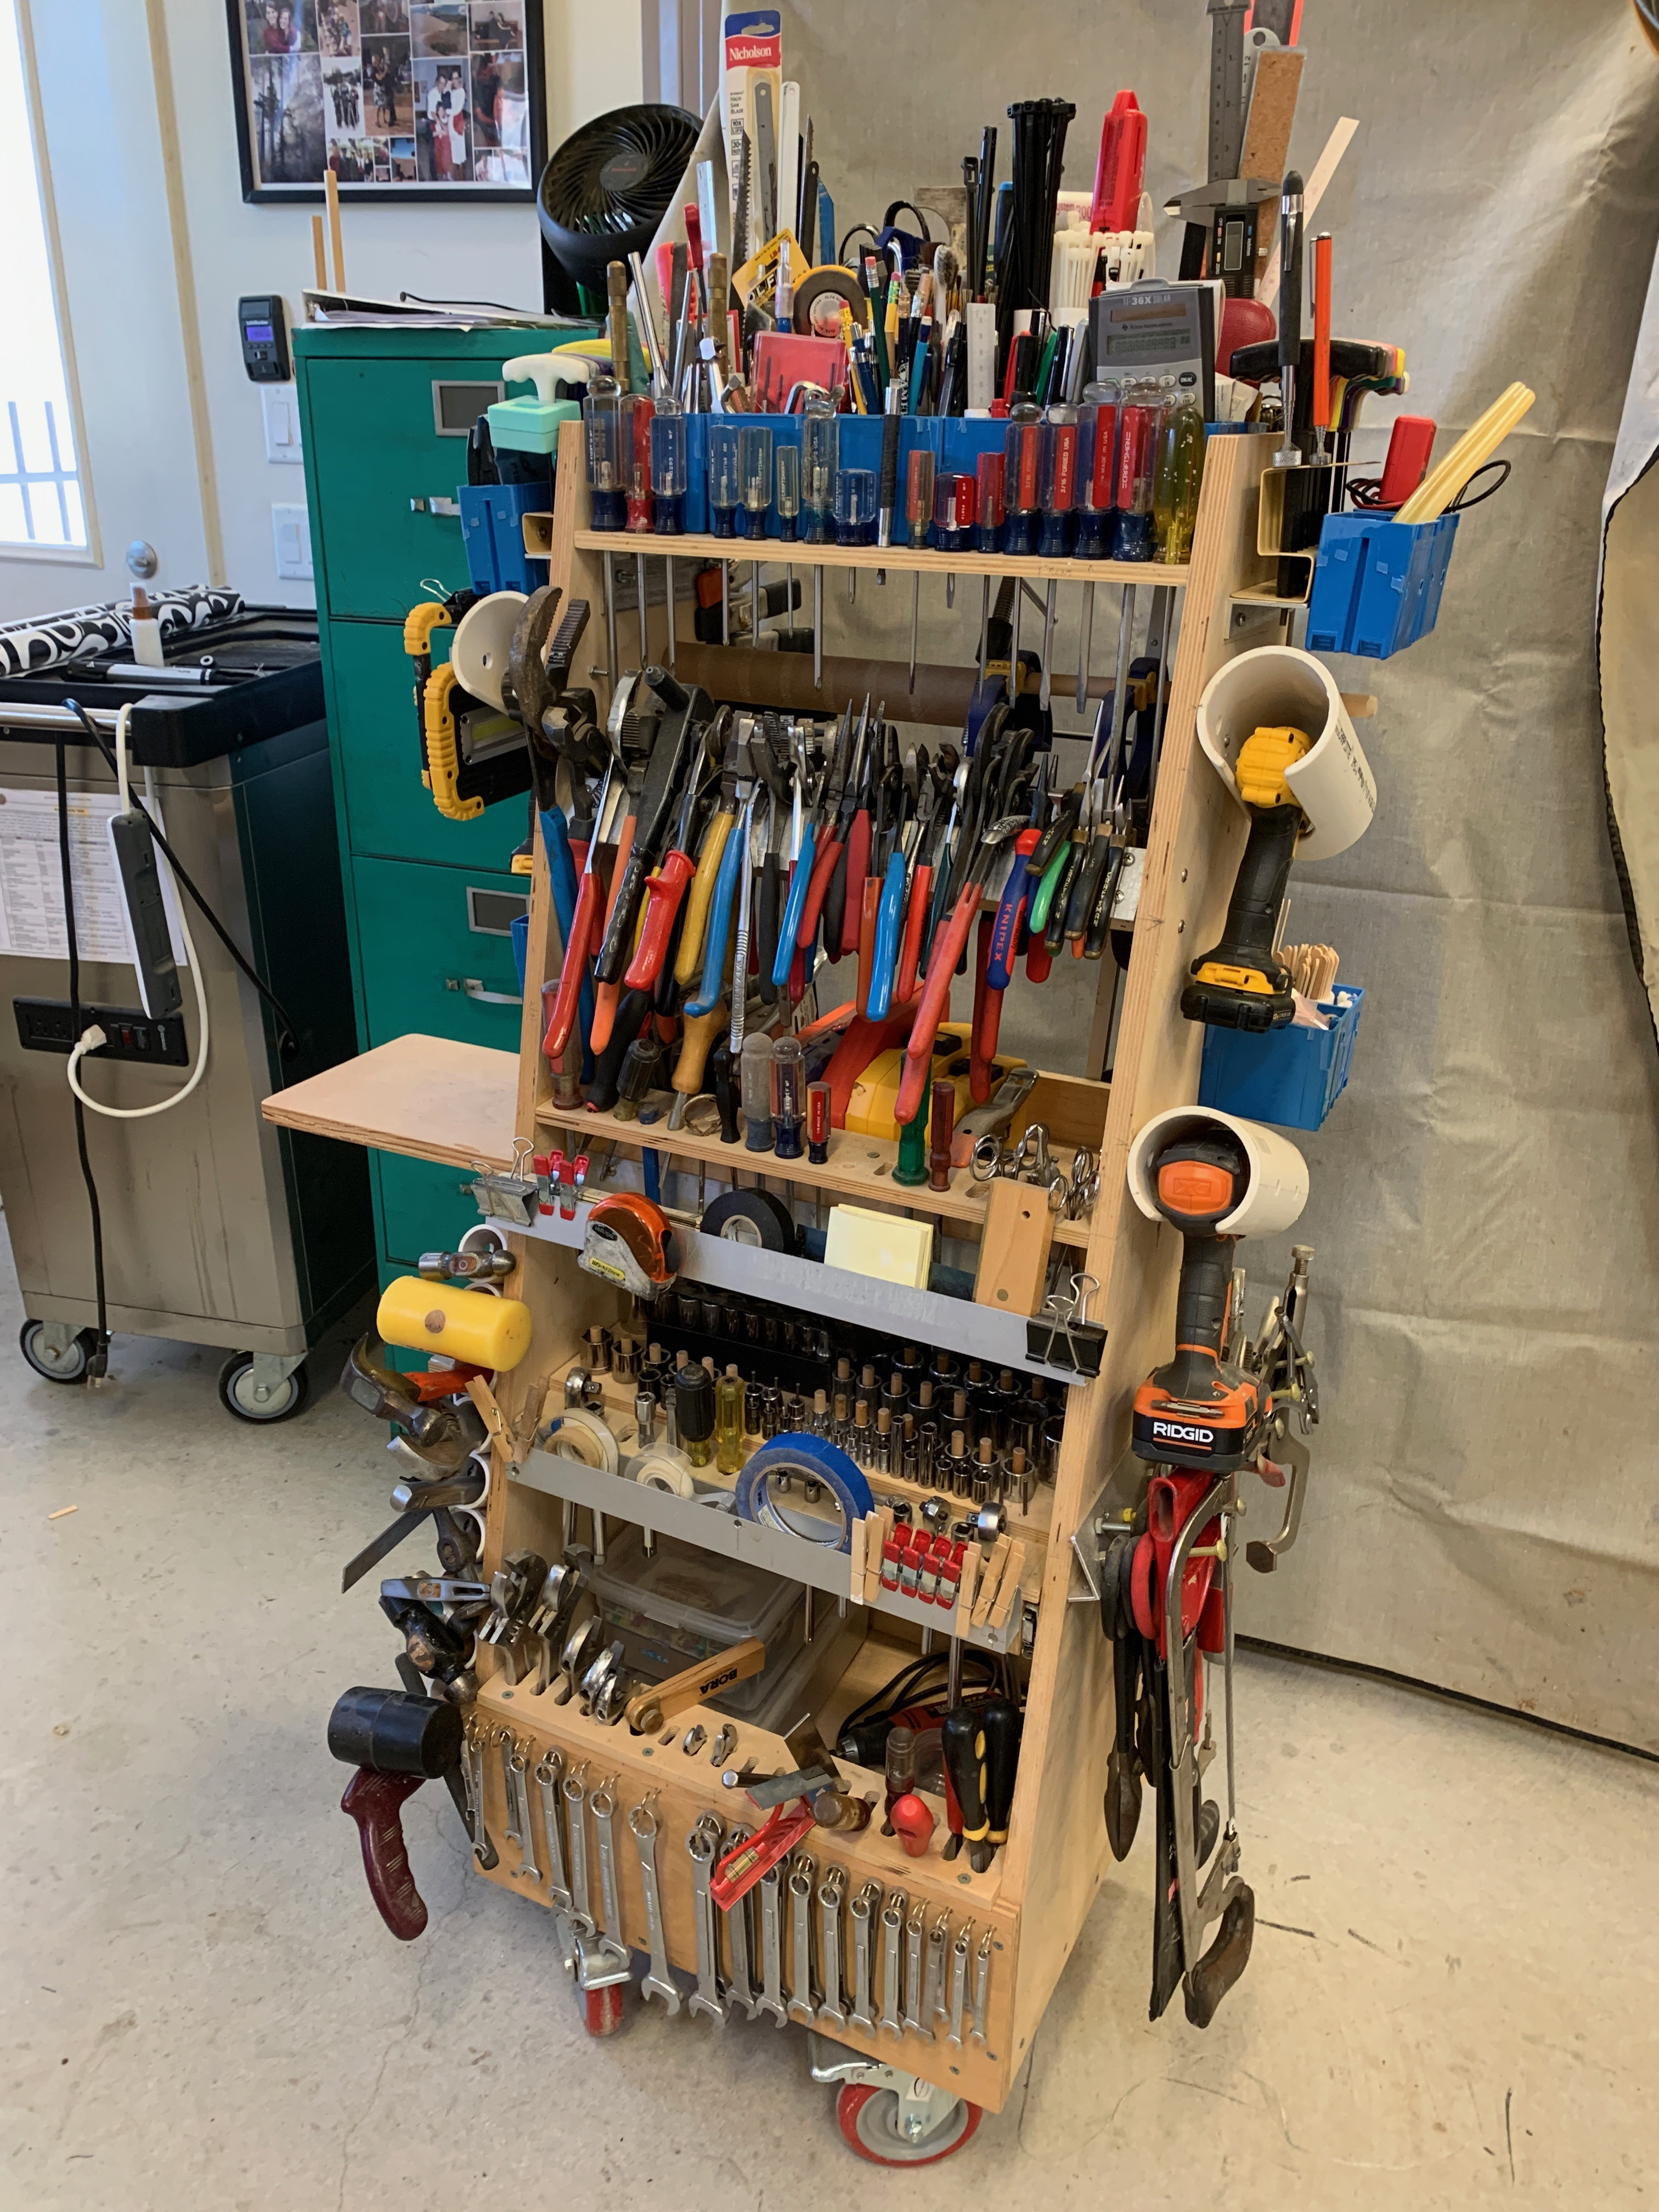
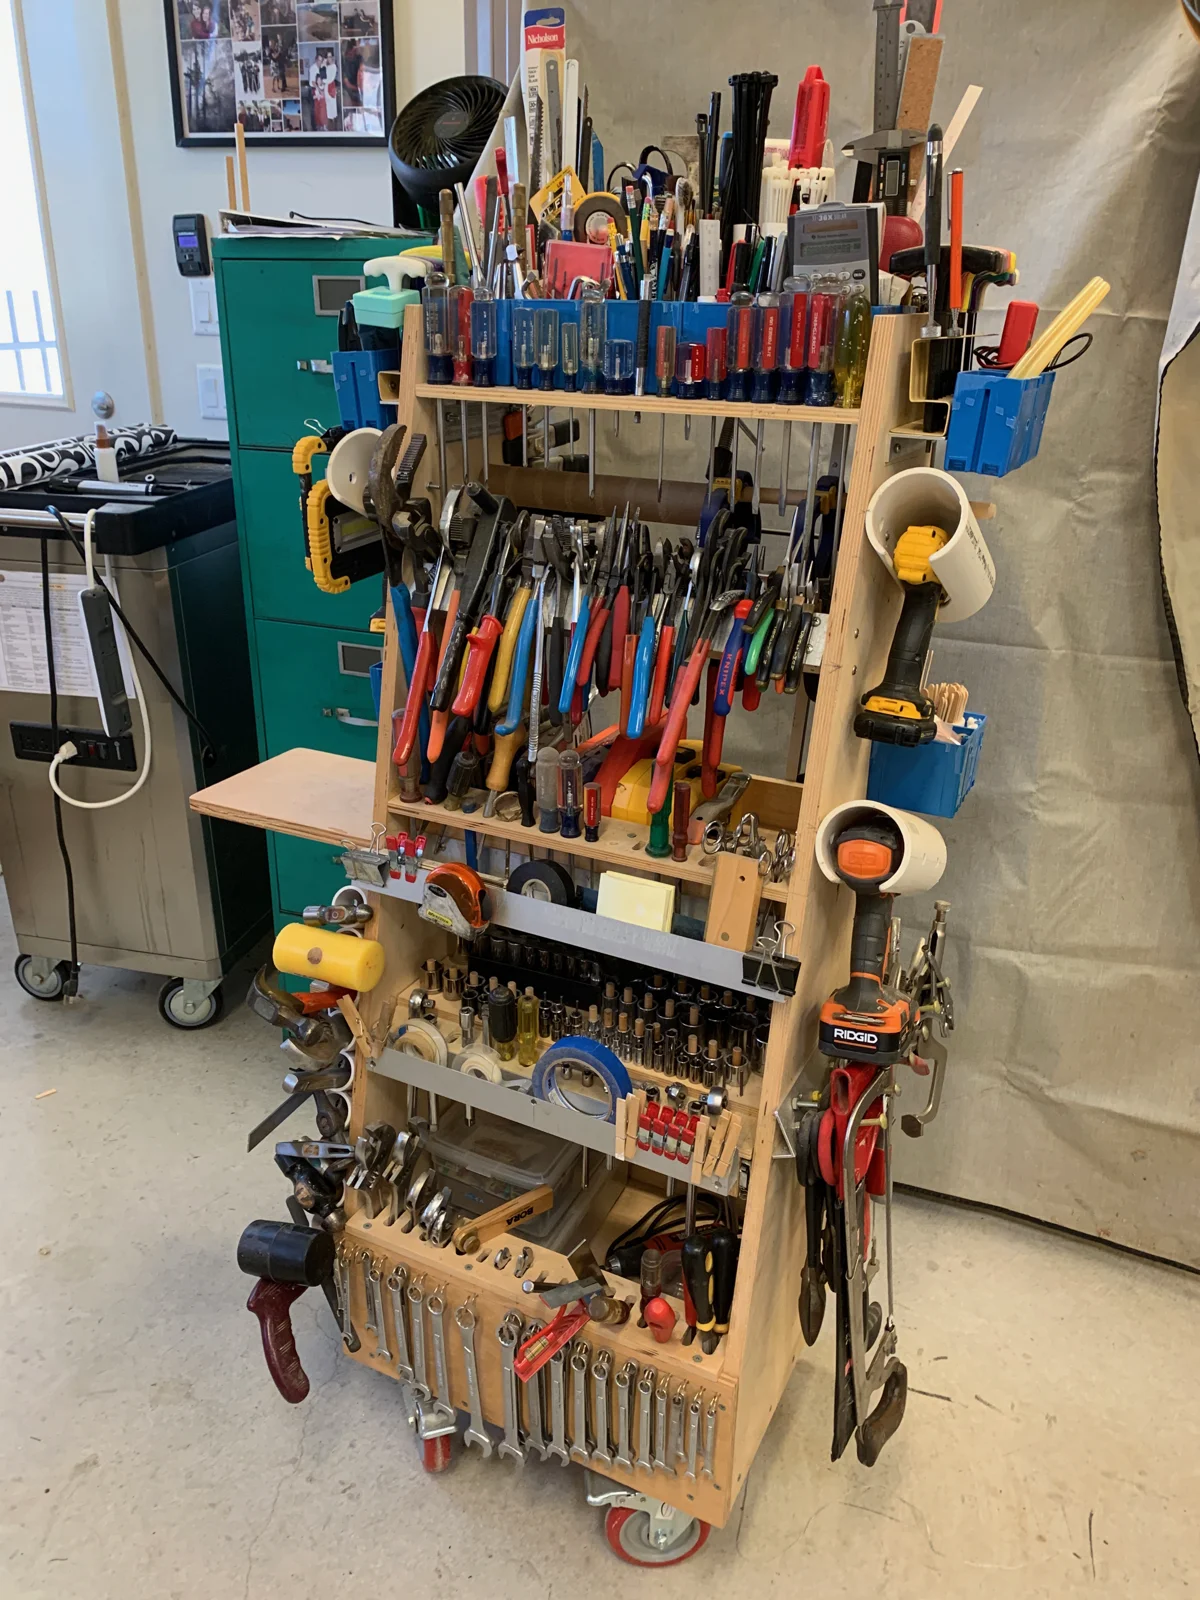
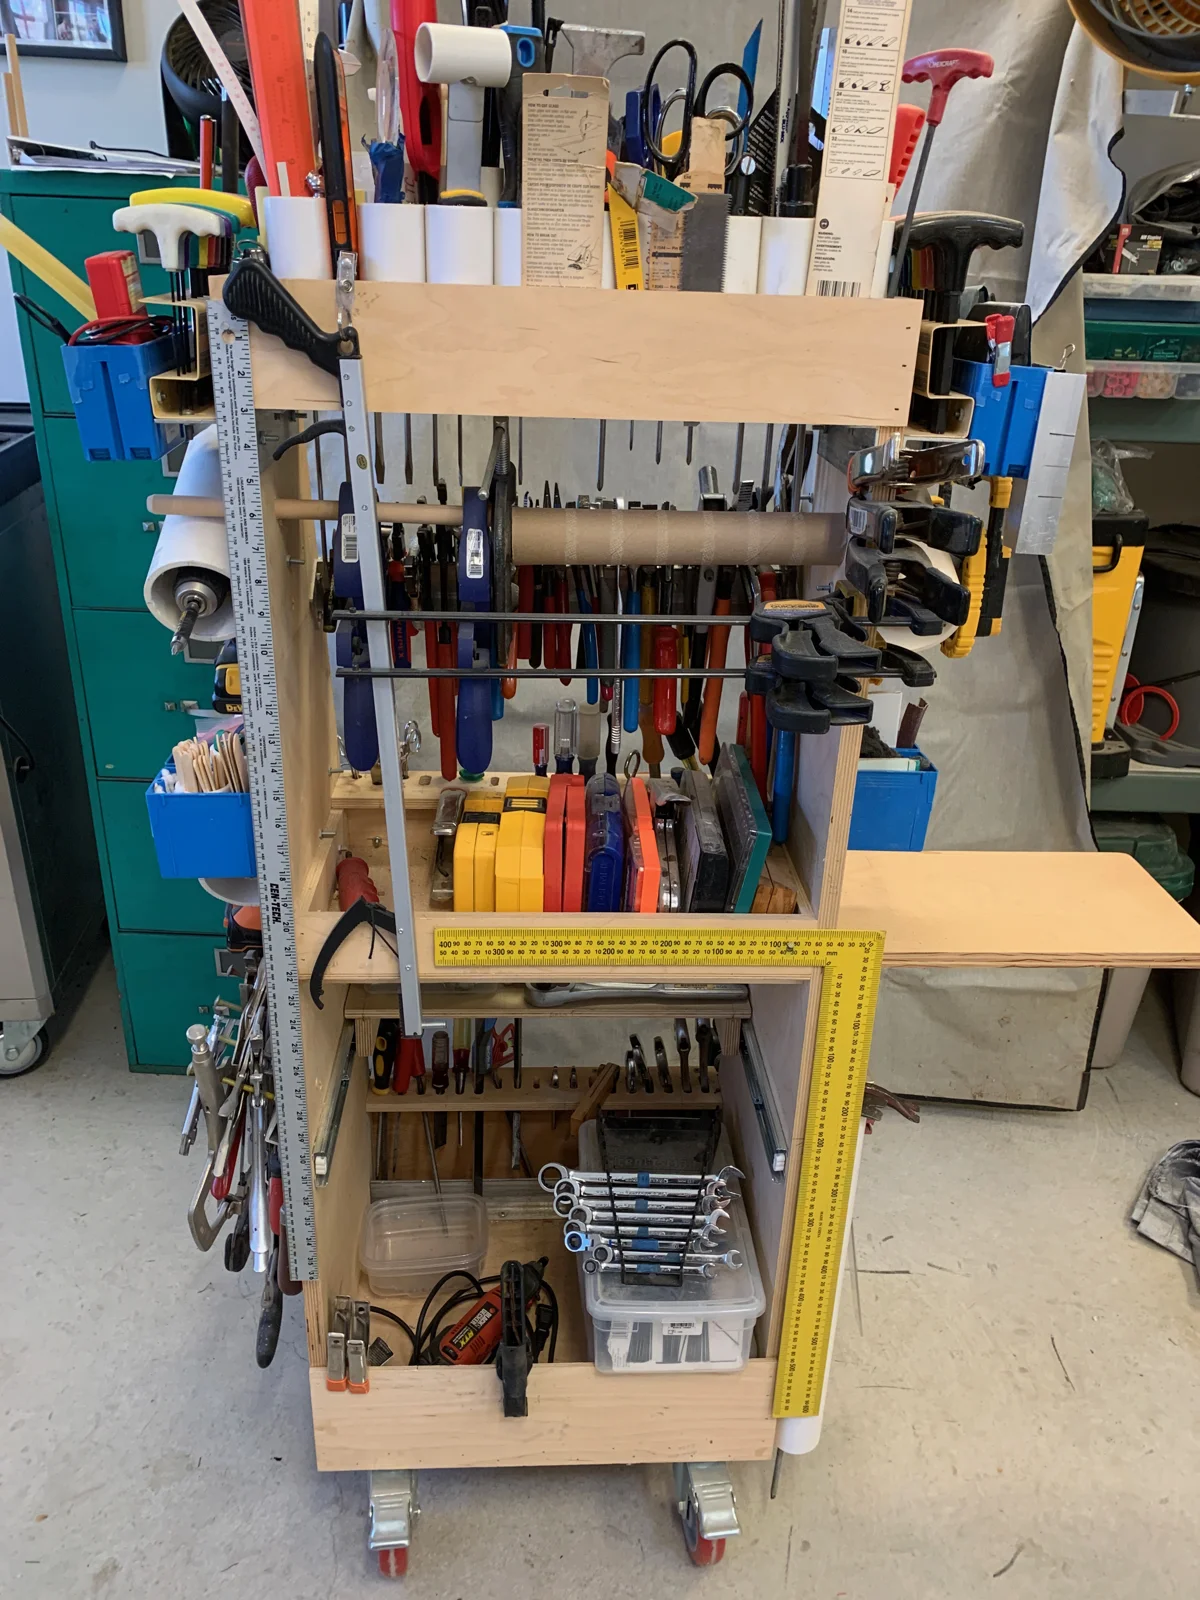
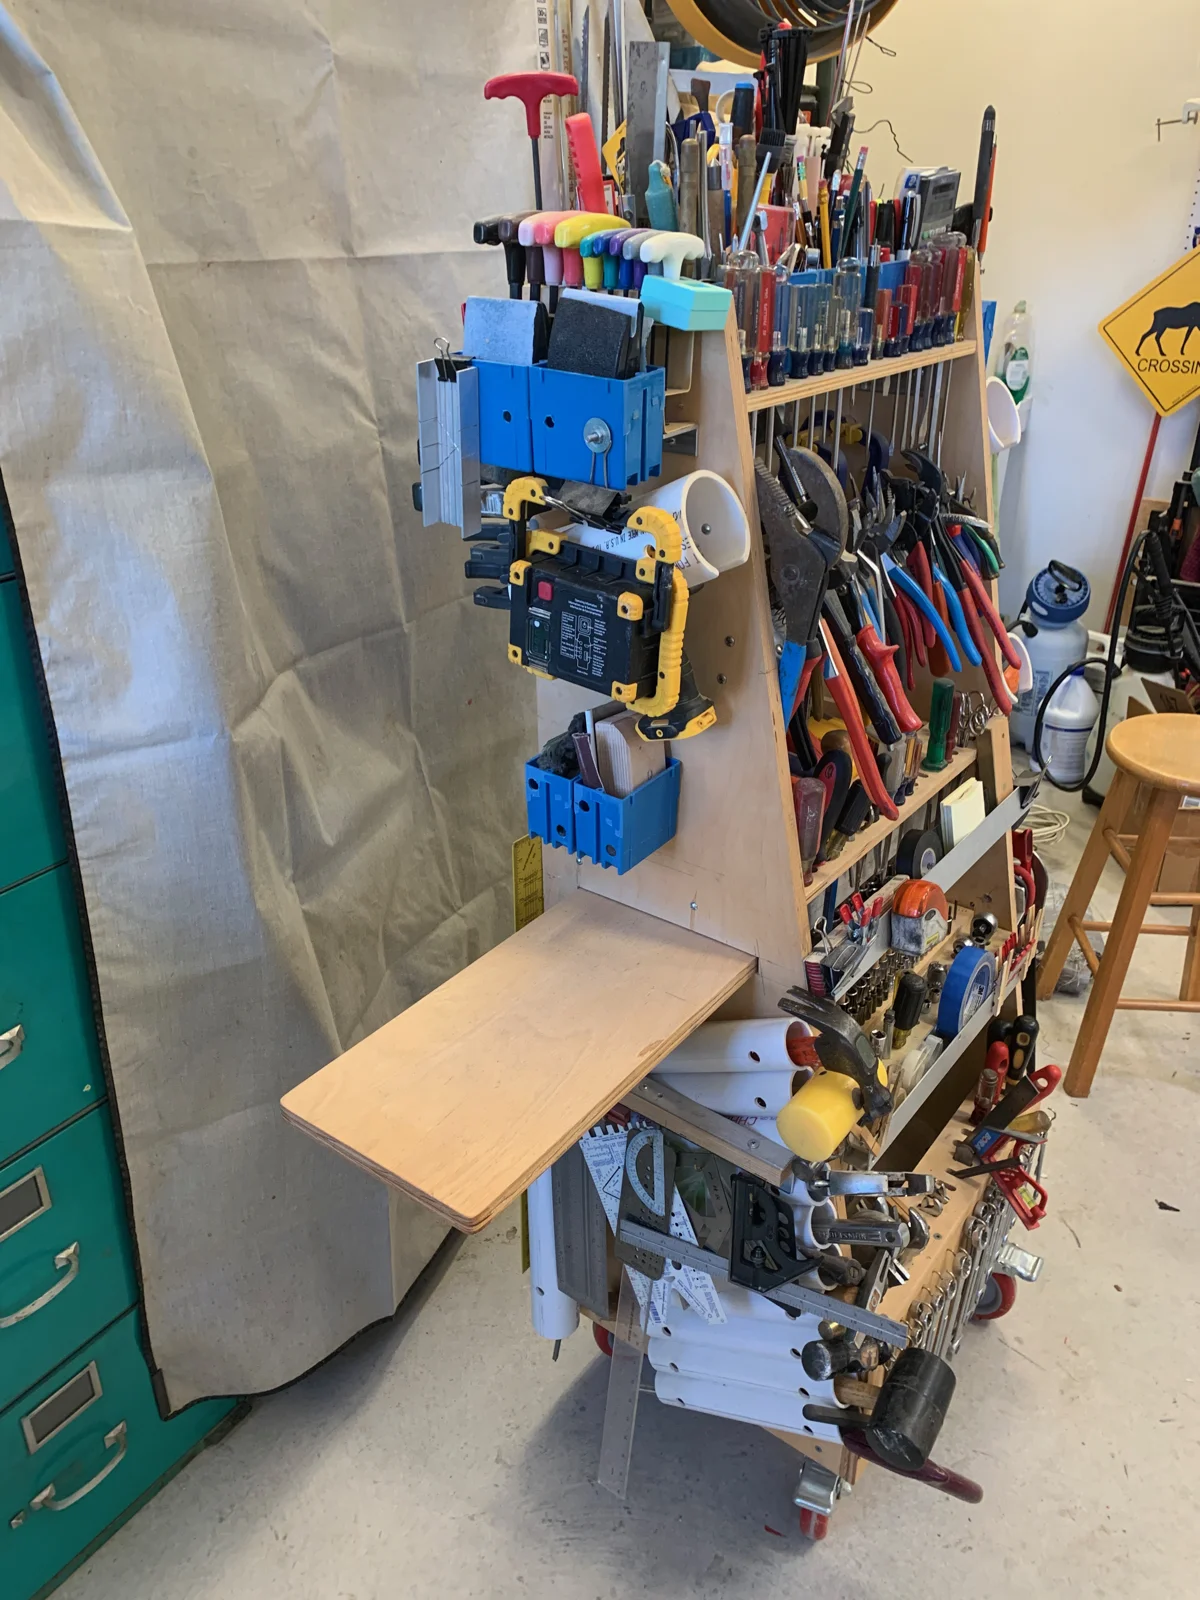
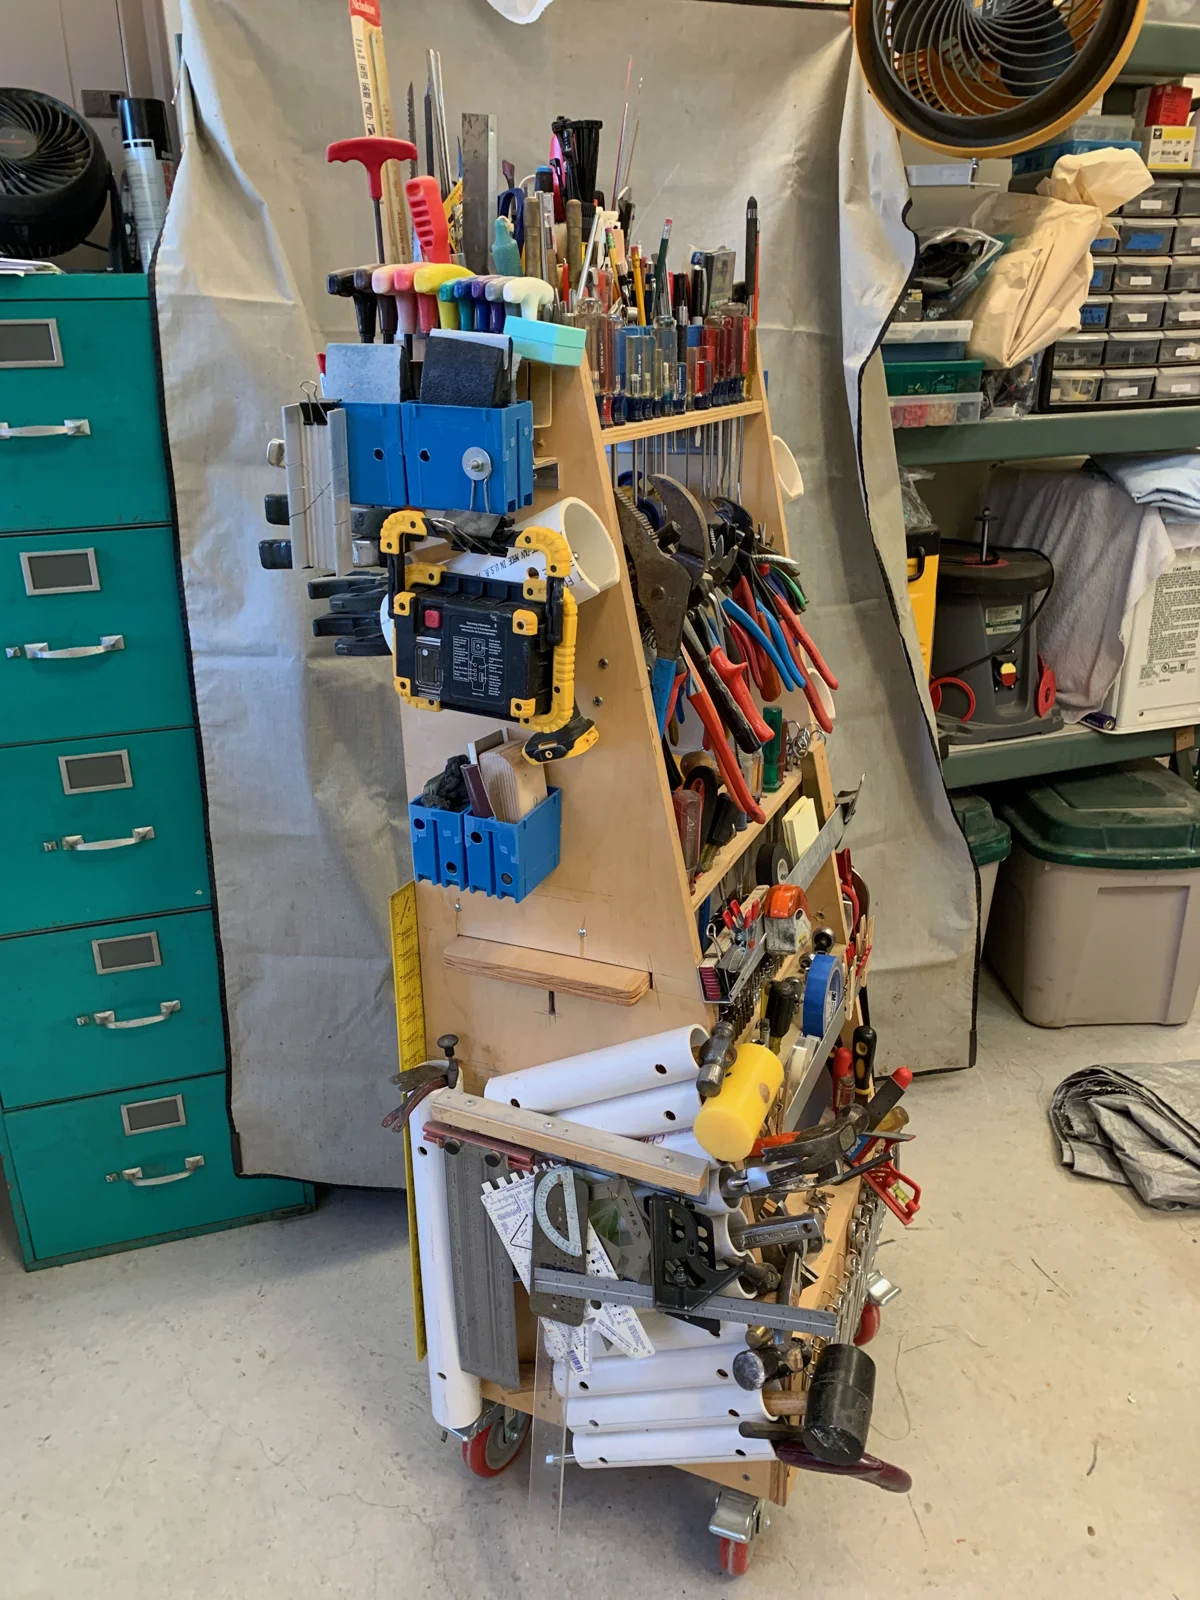
A rolling vertical tool storage cart, Adam Savage-inspired, built from baltic birch plywood with PVC-pipe tool holders and electrical-box bins. Free 3D CAD files available.
Have your favorite tools always visible and readily available! I first discovered this type of vertical tool cart design concept watching an online video presented by Adam Savage, a co-star on the popular TV series ‘Myth Busters’. He quickly had me sold on the concept, given one of my favorite workshop adages over the years has been… if you can’t find it, you don’t have it. My only regret is not discovering this tool cart concept earlier in life.
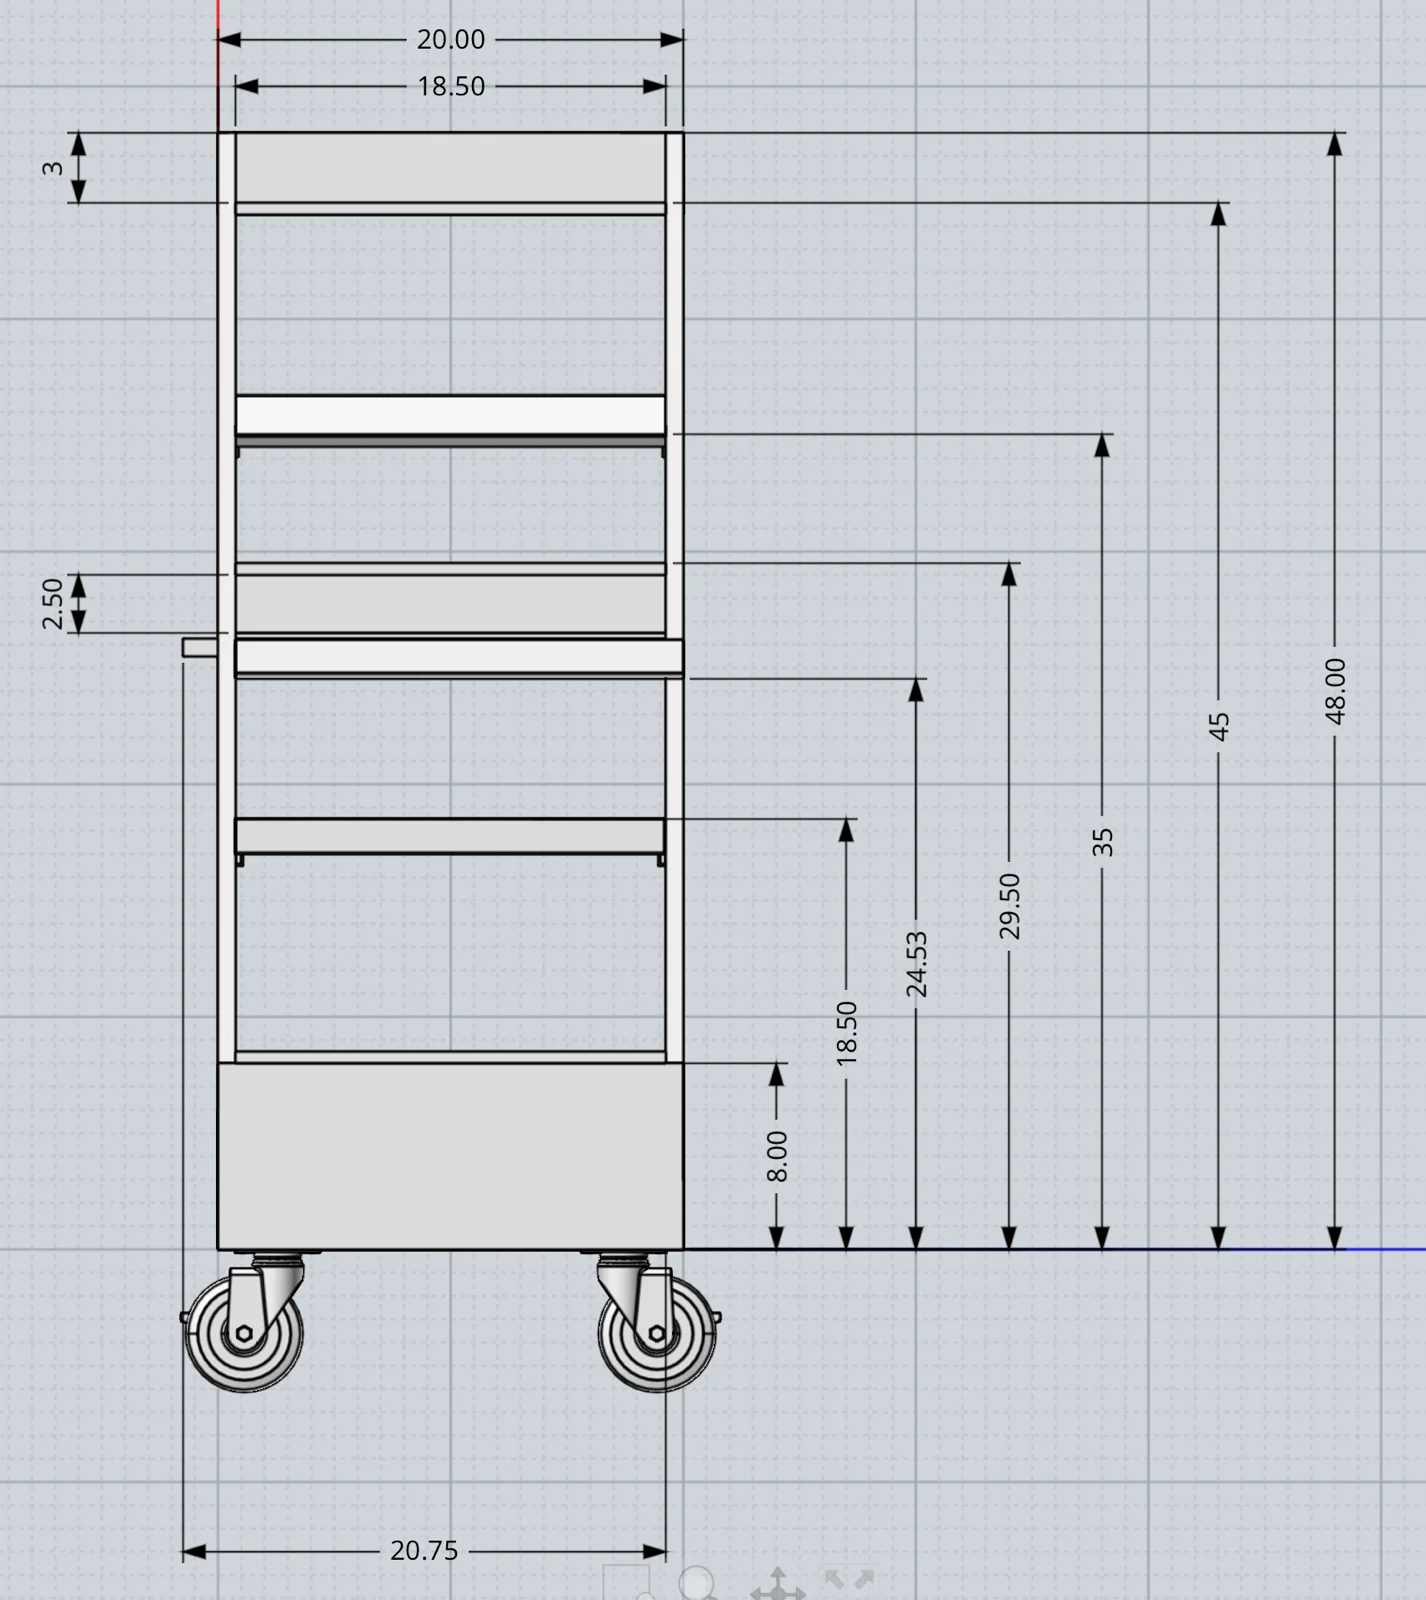
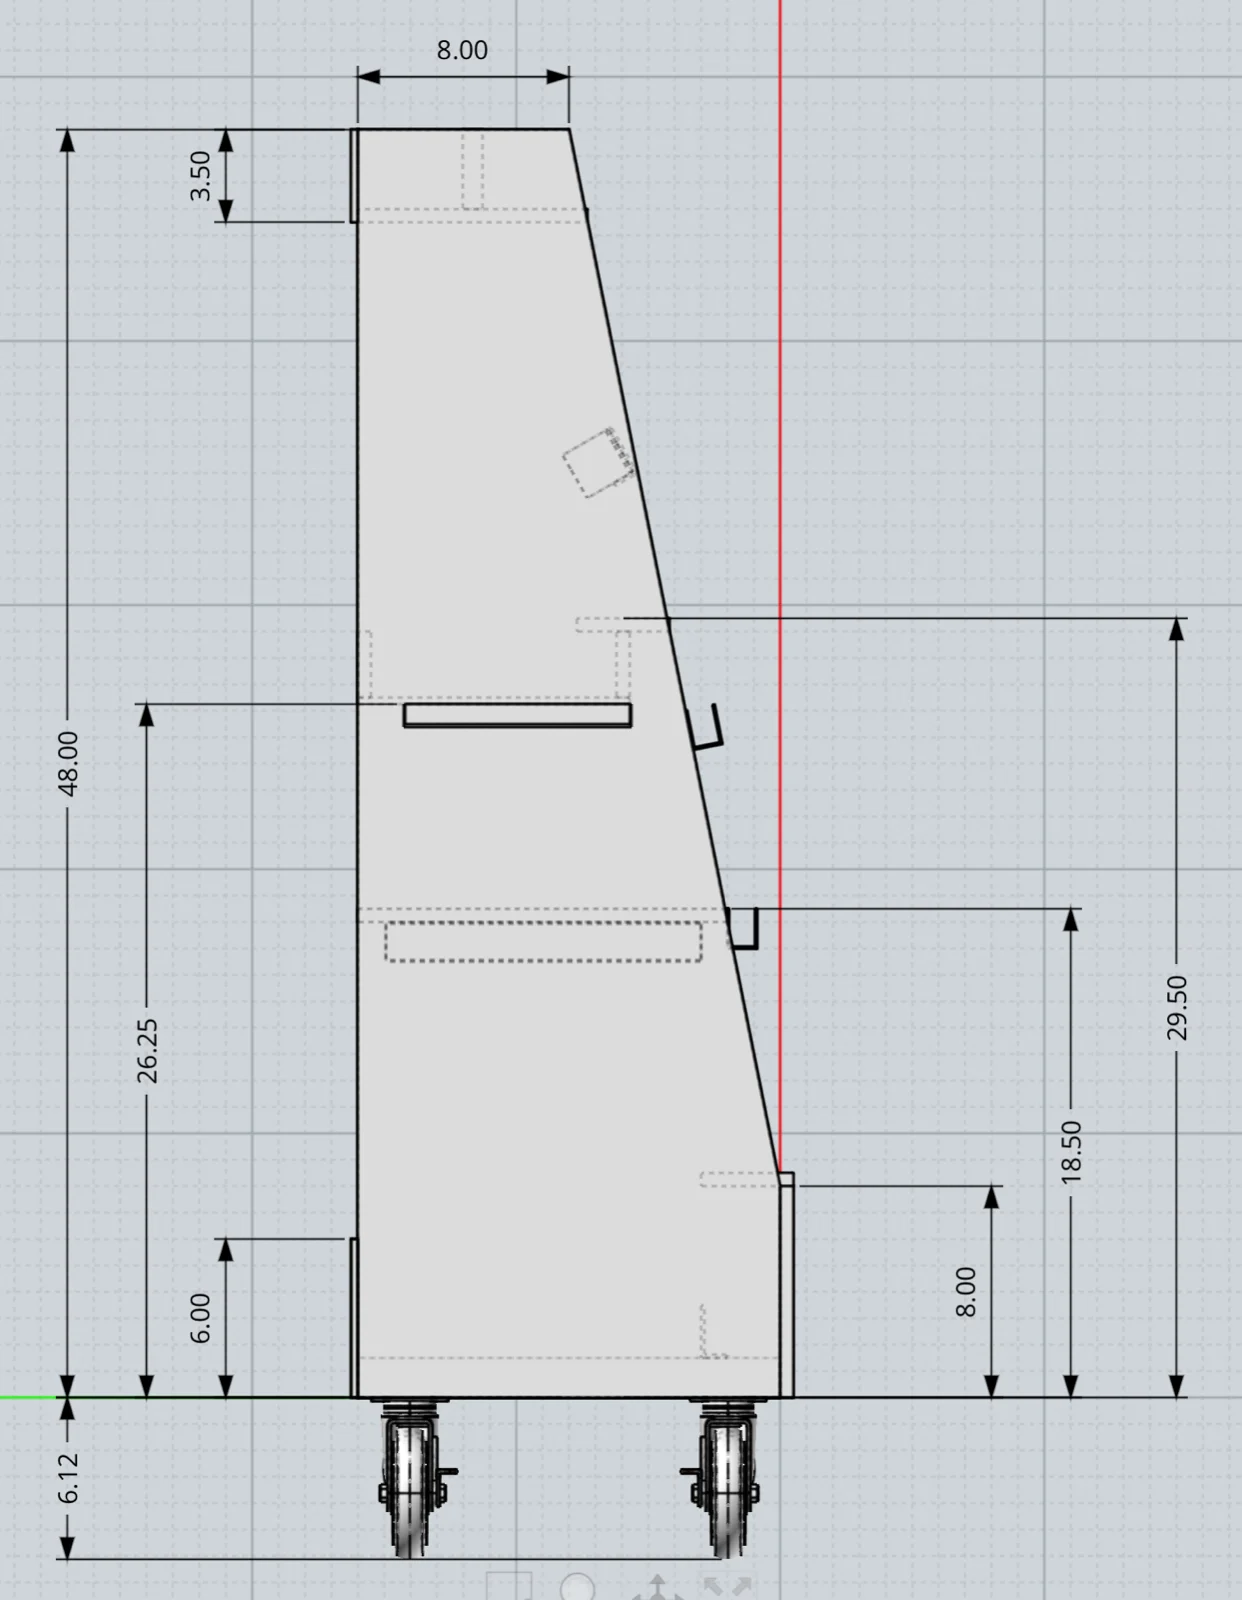
My design process can best be described as two main steps. First, the basic cart shape and dimensions were chosen so the cart could hold as many tools as possible; the tools all needed to be visible and accessible; and the cart had to be easy to move around within the workshop. The second piece of the puzzle required gathering all the items that I wanted on the cart and deciding where and how to mount them. If you decide to make your own tool cart, I highly recommend that you take some time finalizing your own cart storage requirements — plus try to leave yourself some unused space on the cart that can be used later for new tools or other items that you missed initially.
Supplies
Materials & Hardware
- Baltic birch plywood (basic cart construction)
- Two pieces of 3/4″ baltic birch plywood, laminated (bottom, for added strength)
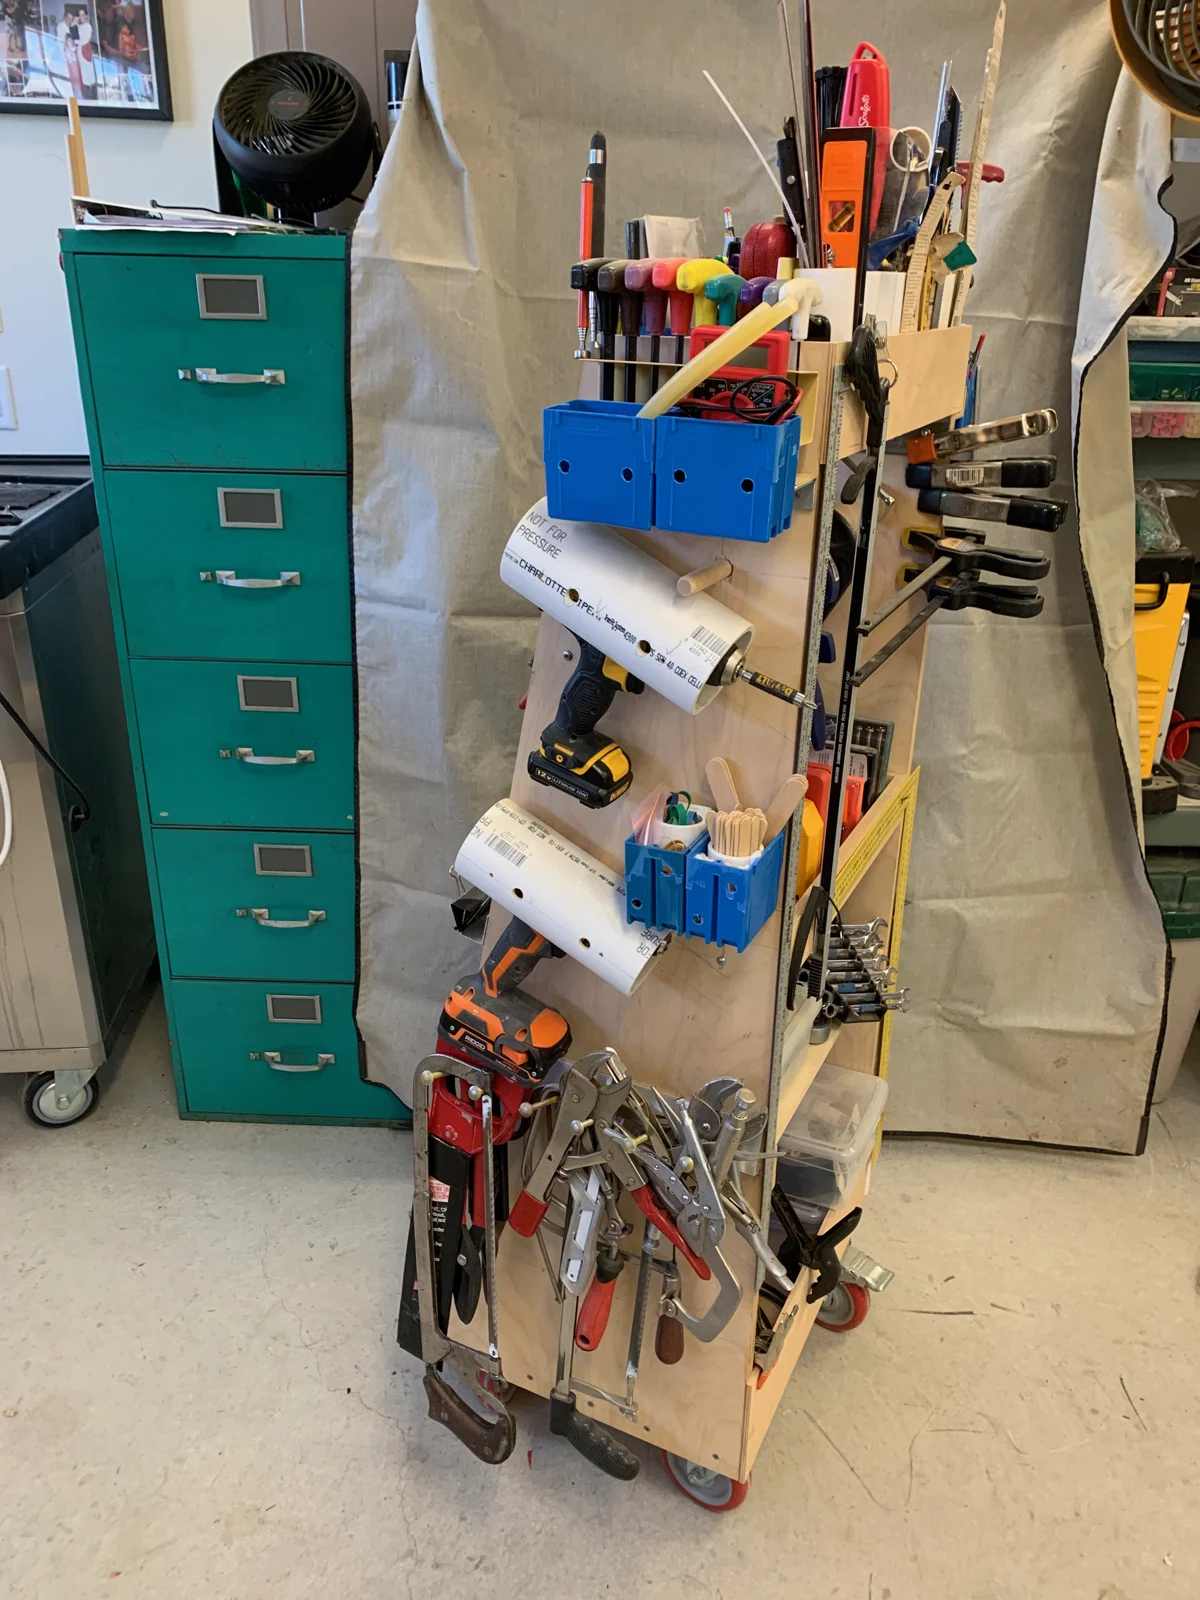
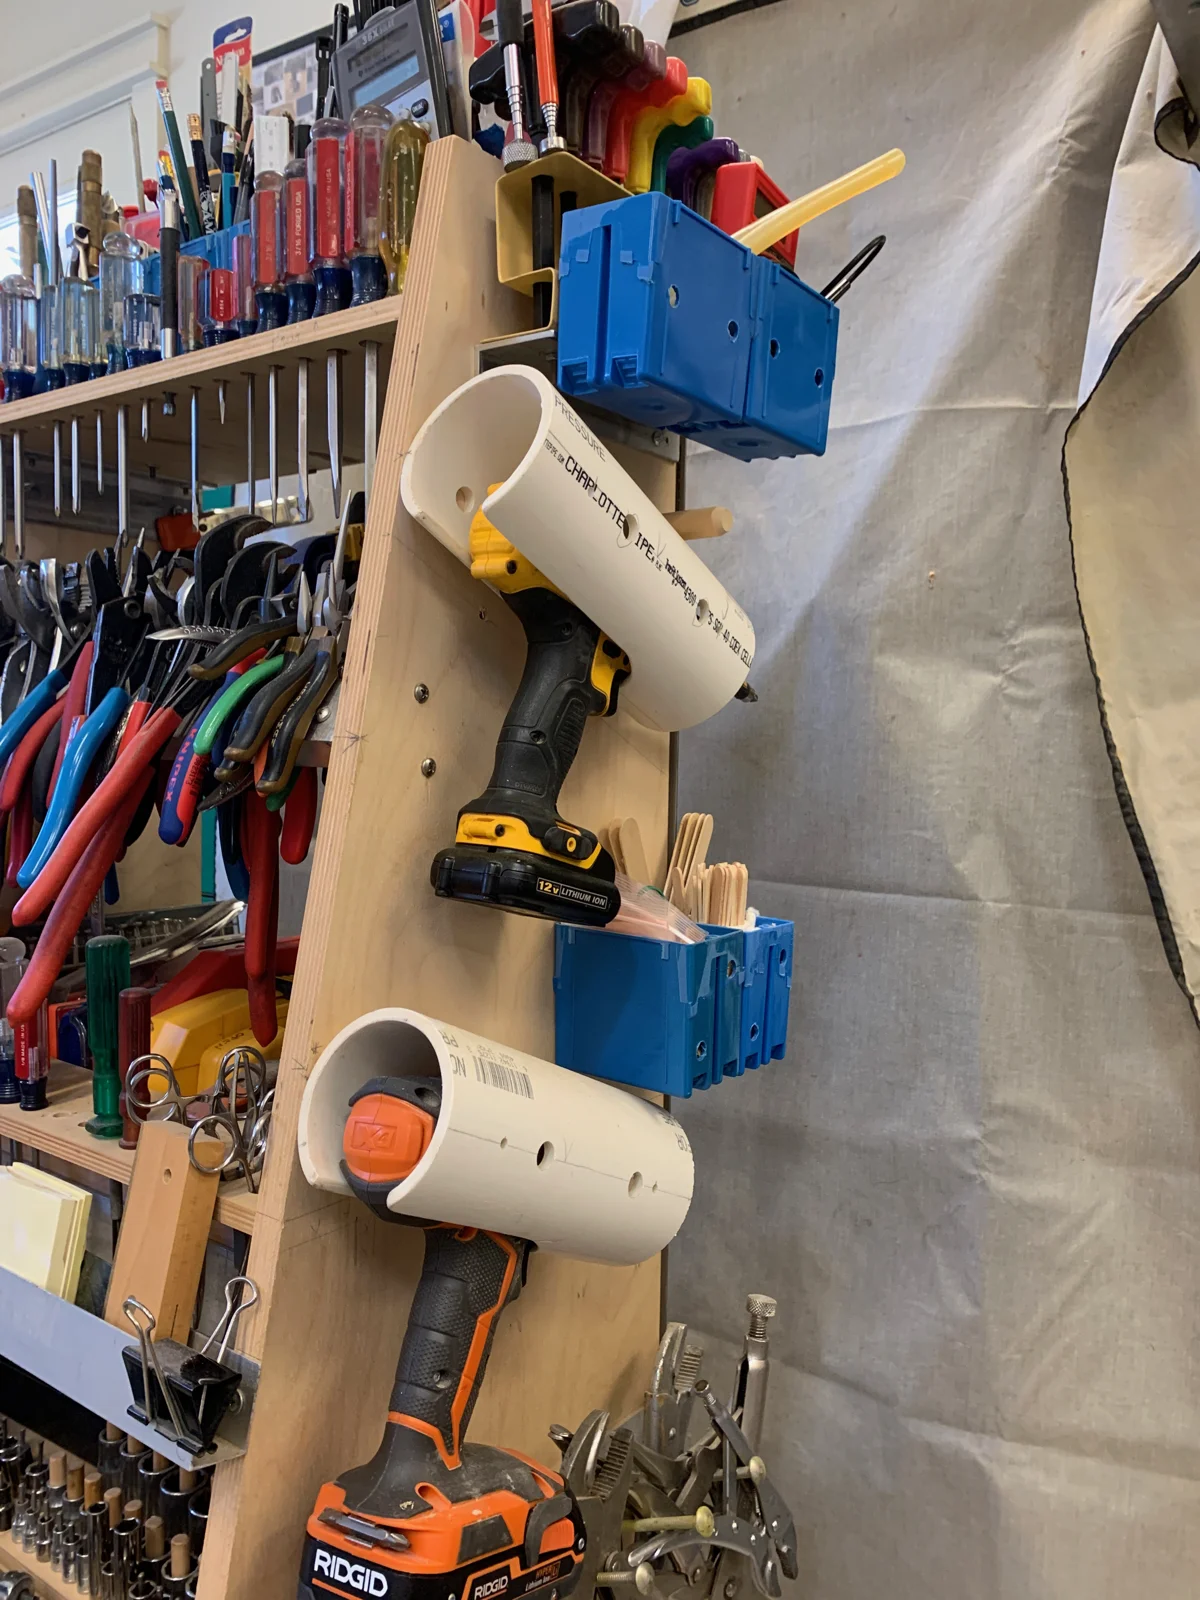
- 3″ PVC schedule 40 pipe — 3″ dia. x 8″ L with a 1 1/2″ wide x 5 3/4″ slot (drill holders)
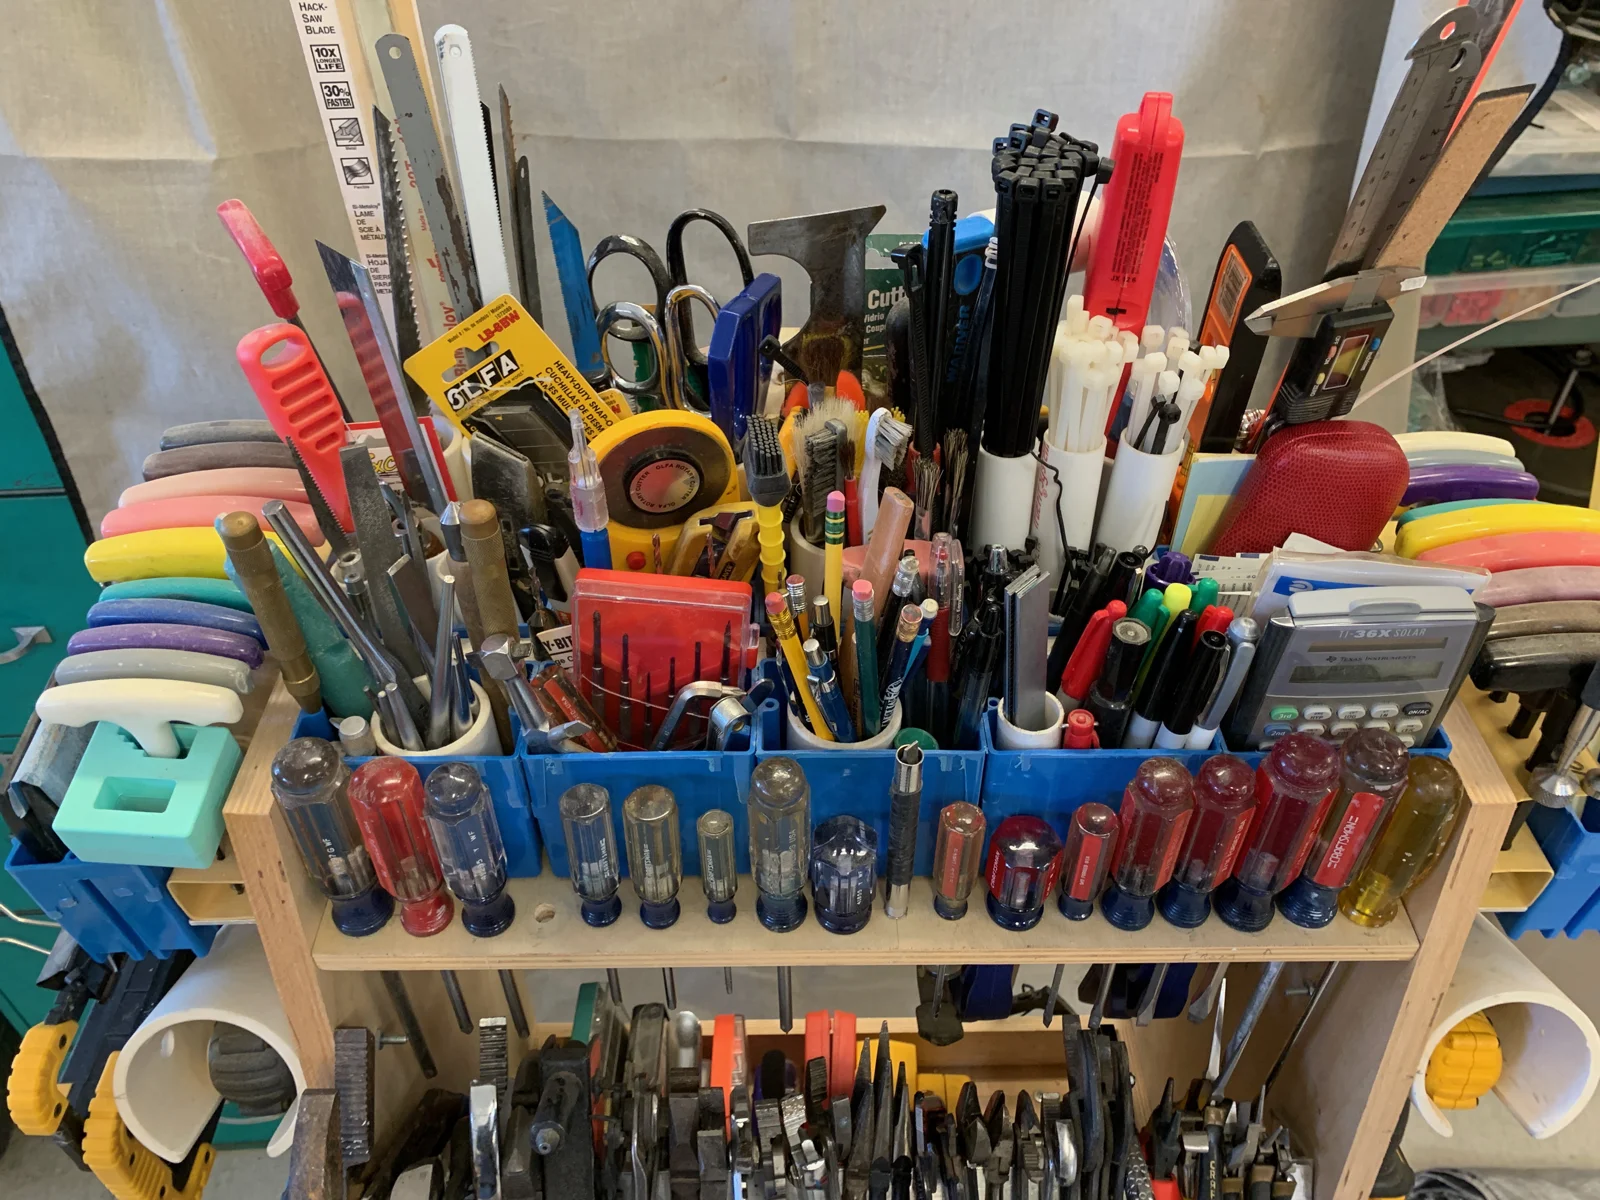
- 1 1/2″ schedule 40 PVC pipe (horizontal side tubes, top shelf tubes)
- Standard plastic electrical boxes, 2 1/4″ x 3 3/4″ x 3 1/4″ H (blue bins)
- 5″ diameter casters, 4 — smaller wheels are too small for easy rolling
- 1/4-20 flat head bolts (caster mounting, inserted from the top into countersunk holes so the bolt heads sit flush with the bottom)
- 1/8″ x 1″ x 2″ aluminum L-brackets (side shelf guide)
Tools
- Basic shop tools (saw, drill, router)
Pulled from the build notes below — quantities weren’t specified in the original write-up beyond what’s listed here.
Steps
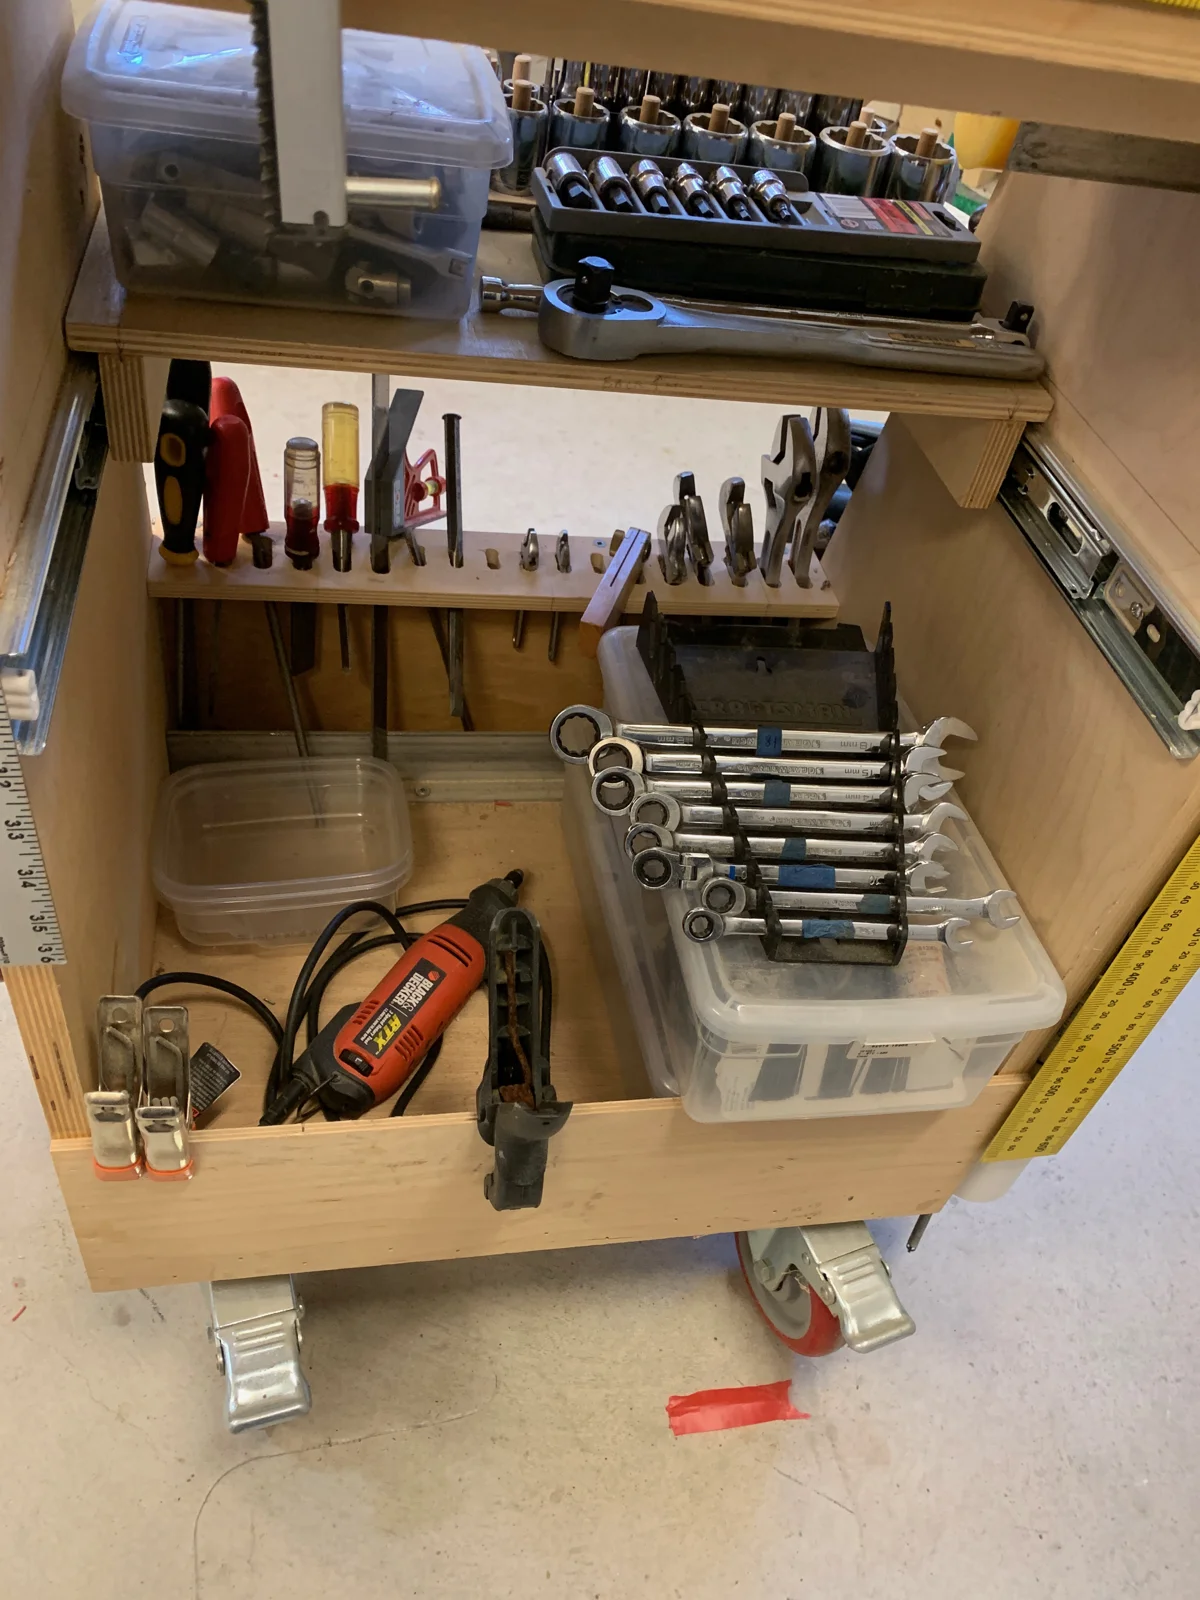
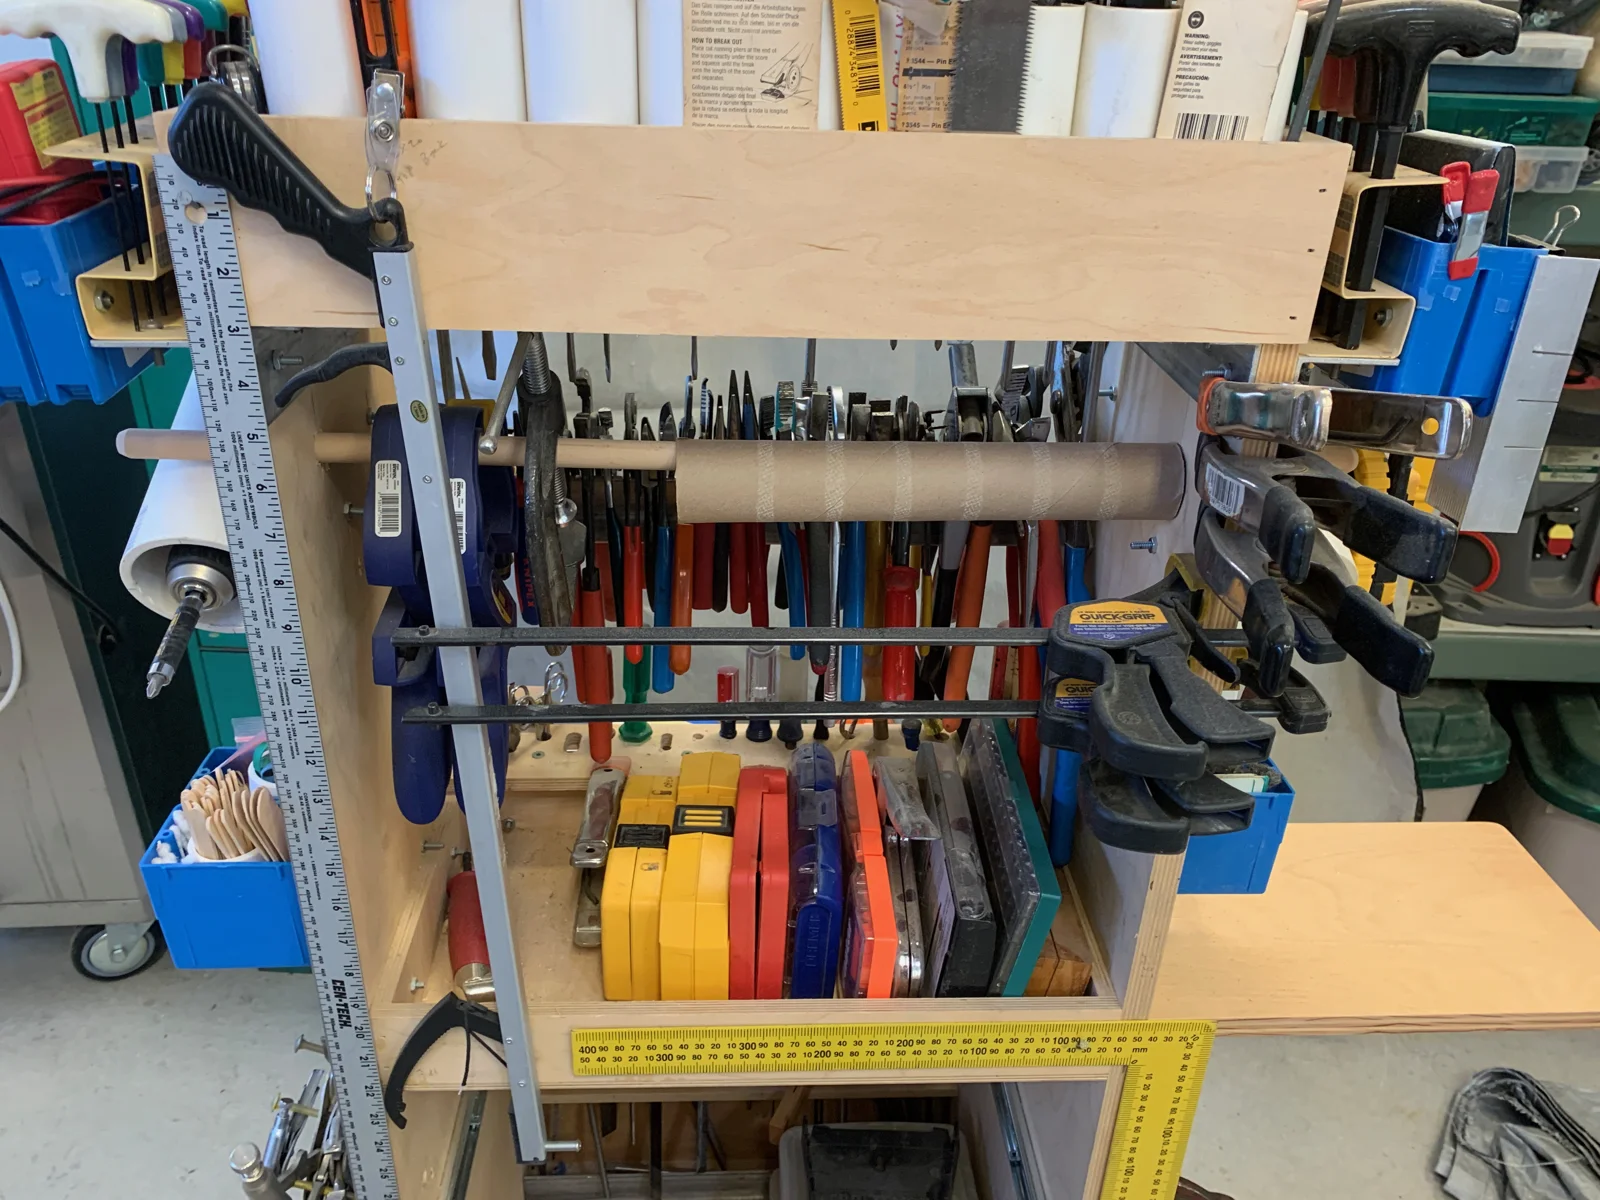
Here are the steps I used to get the basic tool cart assembled. First, I assembled the bottom, top (including the center divider), and sides. Then, after checking that the basic frame was square, I added the 8″ tall panels to the front and back (bottom end). Now the middle ‘box’ shelf was installed to add rigidity. At this stage, I proceeded to add shelving and containers designed to hold my specific workshop tools and accessories.
Additional Design Notes
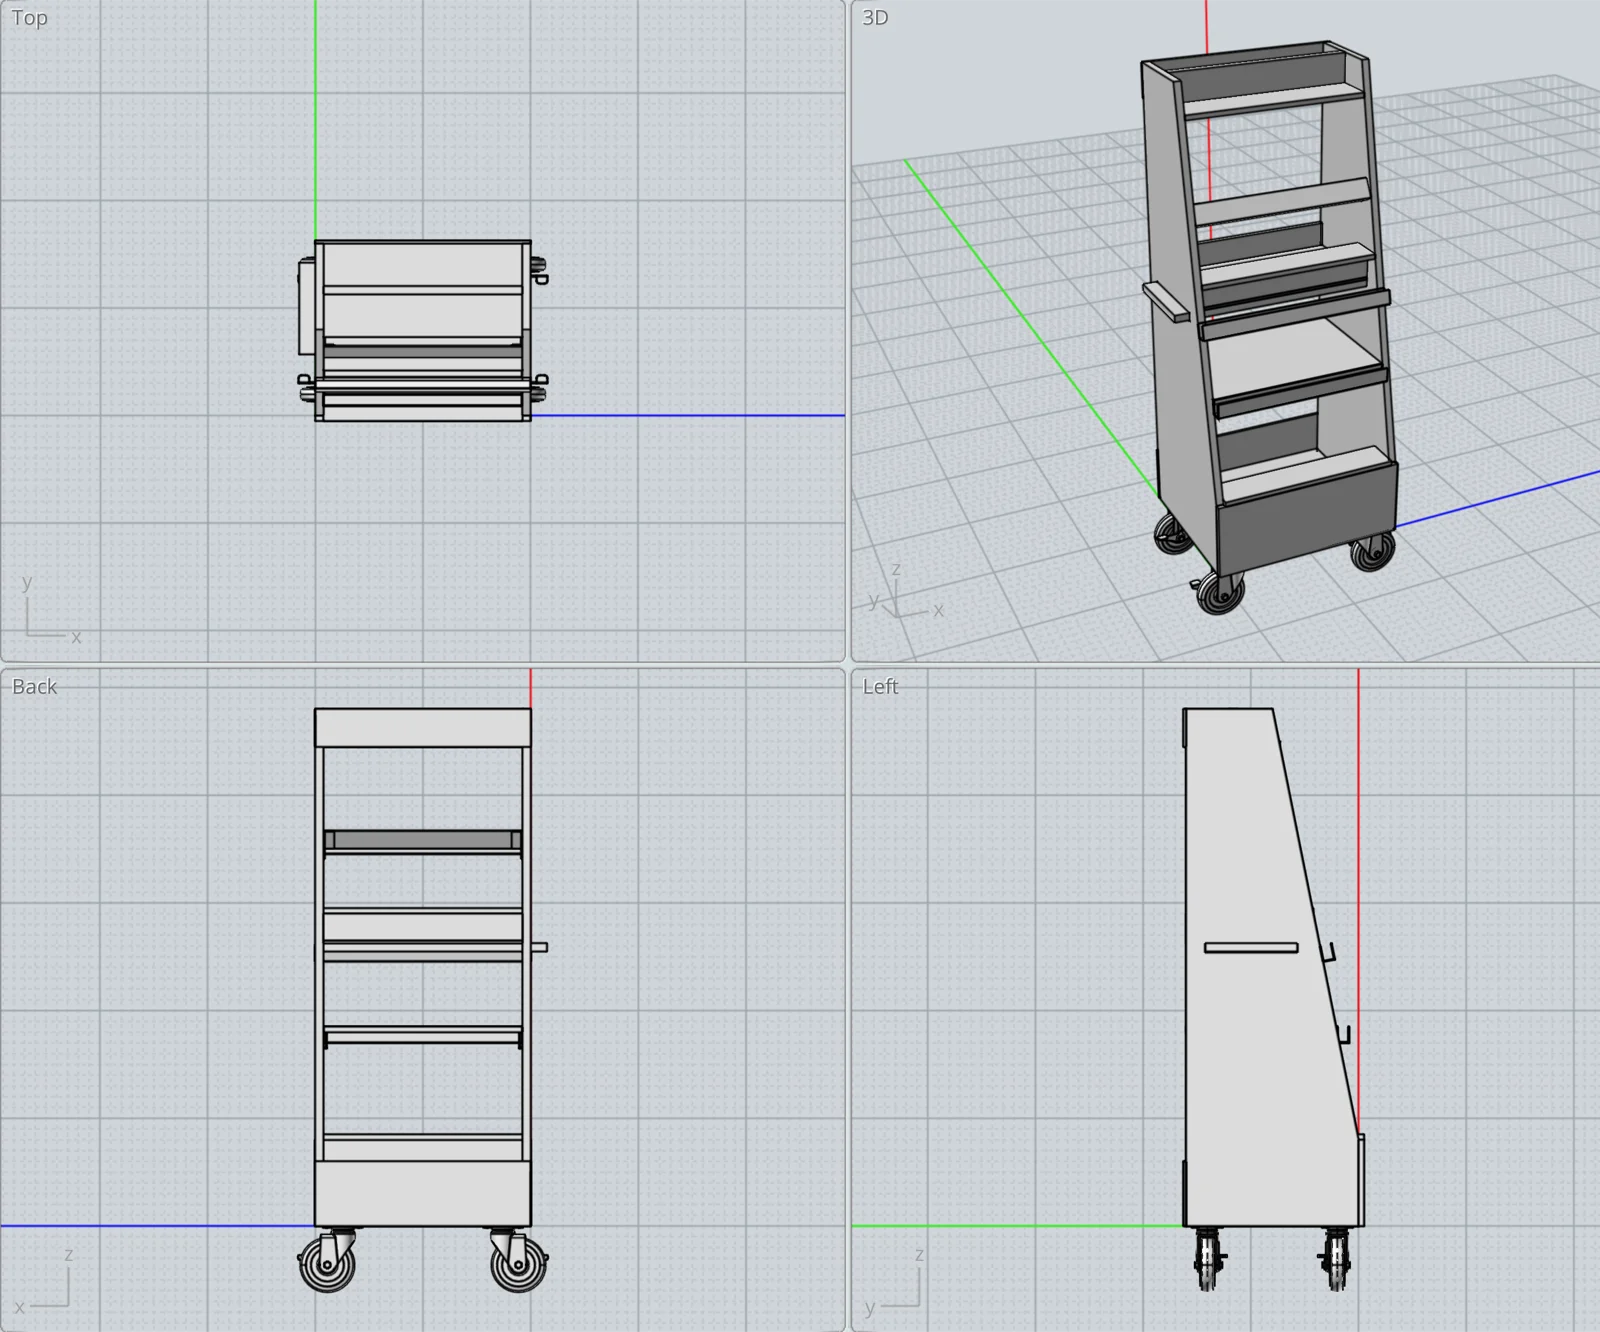
A few notes to complement the 3D model:
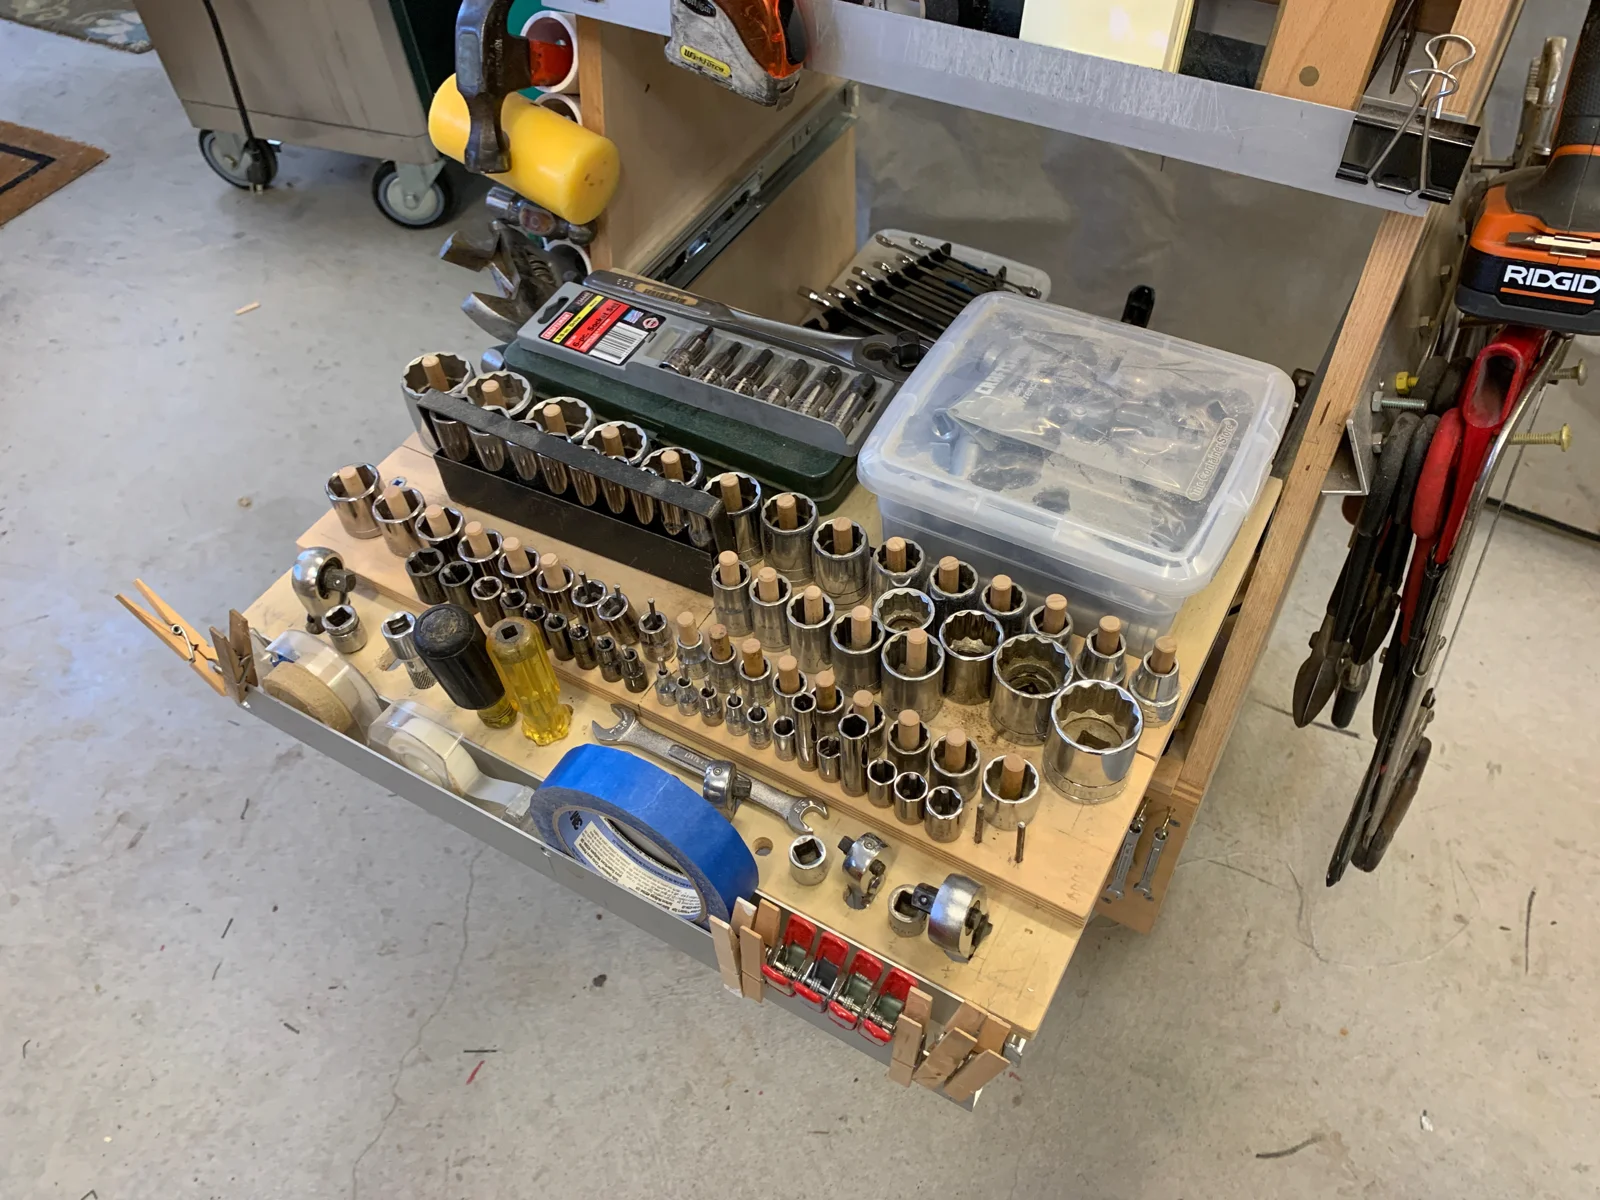
- The side shelf fits through a slot and has an L-bracket on the bottom to help guide the shelf. This shelf design eventually worked okay after adding some side guides. If making another one, I’d likely just use my router to cut a slot through the shelf and use a bolt plus washer through the slot for the shelf ‘guide’.
- The L-brackets are 1/8″ x 1″ x 2″ aluminum, which I already had on hand.
Final Thoughts
Ready to make your own customized tool cart? The downloadable 3D CAD model has more details, or you can use the model to create your own customized version.
One reader suggested mounting a power strip above the bottom shelf to charge tool batteries in place (with the chargers sitting on the bottom shelf), and also mentioned a paper towel dispenser as a nice addition — both simple, worthwhile additions to consider for your own cart.
Image Gallery